A painting is made to be seen, but more light is not always better light. The right setup makes color, brushwork, and depth easier to notice. The wrong one creates glare, turns a quiet surface into a mirror, or leaves a valuable work facing heat and direct sun every afternoon. A few thoughtful choices can make a painting feel more alive in a room while helping it stay that way.
1. Begin with the light already in the room
Before shopping for a picture light or changing a ceiling fixture, spend time with the wall at different hours. Morning light can be cool and low. Afternoon sun can be much stronger, particularly on a wall opposite or beside a window. Lamps, overhead lights, fireplaces, and nearby glass all change what you see. Take a photograph of the wall in daylight and again after dark. You are looking for two things: whether the painting will get sustained direct sun, and whether the evening room leaves it in shadow.
Daylight can be beautiful around a painting, but a shaft of direct sunlight is not a display plan. The Smithsonian Museum Conservation Institute advises keeping paintings away from direct sun and active heat sources because light and unstable conditions can cause lasting damage. Its painting-care guidance is a useful baseline when choosing a wall. If the only suitable wall is bright, a shade, curtain, or ultraviolet-filtering window treatment may be a better first investment than a stronger lamp.
Think about the work’s surface as well as the room. A painting with deep darks, a subtle gray sky, or restrained color may need more considered evening light than a bright, high-contrast work. The goal is not to make every detail equally bright. It is to give the whole image enough light for the eye to move through it comfortably.
When choosing from the studio’s available paintings, ask for an additional image in natural light or for guidance about the work’s presentation. That small conversation is often more useful than trying to judge a painting’s true surface from one screen.
2. Use a controlled, low-heat light source
For most homes, a dimmable LED is the practical place to start. LEDs use far less energy and put much less heat toward the artwork than incandescent or halogen bulbs. That matters because heat and bright light concentrated close to a painting are not simply uncomfortable for the room. They can add stress to materials over time. A light should help you see the work, not bake it.
Look for a fixture that lets you control brightness. A dimmer is more valuable than an extremely powerful bulb because rooms change. The right setting for a dark winter evening may feel harsh during a summer twilight. Begin lower than you think you need, then raise the level until the painting reads clearly from the place where you usually sit or stand. If the frame casts a strong shadow, the problem may be the fixture’s position rather than its output.
Color rendering is worth paying attention to. A bulb with good color rendering shows colors more naturally, while a poor one can make warm passages look flat or make cool tones look dull and greenish. Christie’s guide to lighting artworks recommends LED lighting and emphasizes the value of controlling ultraviolet exposure and heat. You do not need to turn a living room into a gallery. You do want a source that lets the painting keep its own color.
Be wary of a bare bulb placed inches from the frame, especially where the fixture cannot be dimmed. A restrained, adjustable light gives you more room to refine the result. It also makes it easier to avoid the common mistake of solving a reflection by overpowering the painting with more brightness.
3. Aim the light to reveal the painting, not the reflection
Glare is usually a placement problem. It happens when the light source, the painting’s surface, and your eyes line up in a way that sends a bright reflection back at you. Glossy varnish, glass, metallic paint, and polished frames make the effect more obvious, but even a matte painting can lose depth under a badly aimed spotlight.
Start with the light above the painting, then angle it gently down toward the center. A picture light, ceiling track light, or adjustable spotlight can all work when the beam reaches the artwork evenly. Architectural Digest’s practical overview of art lighting makes the same essential point: adjust the fixture and beam rather than treating illumination as an afterthought. Stand in the main viewing position after every adjustment. If you see a white patch or your own reflection, move the fixture slightly higher, farther out, or off-center before adding brightness.
Do not chase perfect uniformity at the expense of the image. A slight falloff at the edges can be natural, especially on a larger work. What you want to avoid is a hard central hotspot, a deep shadow under the top rail of the frame, or a beam that reaches the painting but ignores half of it. For a very wide landscape, two modestly aimed lights often work better than one powerful point source.
Lighting also changes as you move. Check the painting from the doorway, the sofa, and close enough to notice brushwork. A setup that looks good only from one narrow spot is not finished. This is especially important after choosing a new frame. The studio’s framing guide can help you think through how a deeper or more reflective profile will change the light around the work.
4. Match the fixture to the wall and the painting’s scale
A small work over a narrow table may need only a discreet picture light. A substantial painting on a broad wall may be better served by a ceiling-mounted adjustable fixture or a pair of lights with overlapping beams. The fixture should feel proportionate to the painting and disappear into the room once the work is illuminated. If you notice the hardware before you notice the painting, the setup may be doing too much.
Measure the painting and its frame before choosing. The listed dimensions may not include a frame, and an older or custom-framed work can gain meaningful width and depth. For a picture light, consider how far the fixture projects from the wall and whether it can be angled. For a ceiling fixture, consider the distance from the track or junction box to the artwork. A narrow beam can create drama, but it demands accurate aiming. A broader beam is more forgiving but can spill onto the wall and soften the visual focus.
A picture light is not automatically the best answer. It works well when the room needs a quiet, self-contained presentation and the frame can comfortably carry the fixture’s visual weight. Ceiling lighting can be a better choice when you want to light several works, a large painting, or a wall whose frame should remain visually clean. Lutron’s art-lighting guidance is useful for comparing accent-lighting placement and the relationship between beam spread, distance, and glare.
Where power, wall construction, or ceiling height makes the decision complicated, ask a qualified electrician or lighting professional to help. This is not a moment for a dangling cord and a heroic amount of optimism. The installation should be secure, unobtrusive, and appropriate for the room.
5. Protect the painting from more than sunlight
Light is only one part of the environment. A painting near a working fireplace can face smoke, soot, heat, and sudden temperature shifts. A kitchen wall may bring grease into the air. A bathroom can add moisture. A lamp that looks harmless on a mood board can be a poor companion when it is close enough to warm the frame every evening.
Put space between an original painting and active heat sources. Do not place a lamp where the shade or bulb sits immediately against the frame. Keep cables and fixtures secure so nothing can rub, snag, or pull against the work. The Canadian Conservation Institute’s guidance for paintings also stresses stable conditions and careful handling, which are as useful in a home as they are in a collection.
If a painting is on paper, behind glazing, or has a very delicate surface, get specific advice from the artist, framer, or conservator before adding a close light. The needs of a sturdy acrylic canvas and a pastel under acrylic are not the same. A strong visual effect is never worth experimenting with an unfamiliar surface.
Good placement works with good care. The studio’s oil-painting care guide covers the condition signs that should stop a do-it-yourself cleaning attempt. Lighting is the companion decision: prevent a problem where you can, then leave a real condition issue to a professional.

6. Test the room at night before calling it done
After you install or adjust a fixture, give yourself several evenings with it. Turn on the lights you normally use in the room, including floor lamps and table lamps. Sit where you usually sit. Notice whether the painting is visible without becoming the brightest object in the room. A good lighting plan gives the work presence, but it still lets the room feel like a place to live.
Use a simple checklist: Is there direct sun on the work for long periods? Can you see the image clearly from the main seating area? Is there a hotspot or reflection? Does the light make the painting feel flat or does it reveal its depth? Is the fixture sending noticeable heat toward the frame? Does the hardware look proportional to the work? The answers do not need to be technical. They need to be honest.
Once the lighting feels right, revisit the hanging height and wall relationship. A work may need to move a little after you see it under evening light. The studio’s guide to hanging a painting explains how to find a stable, comfortable placement. Lighting should refine that decision, not replace it.
Lighting a Douglas H. Caves Sr. painting
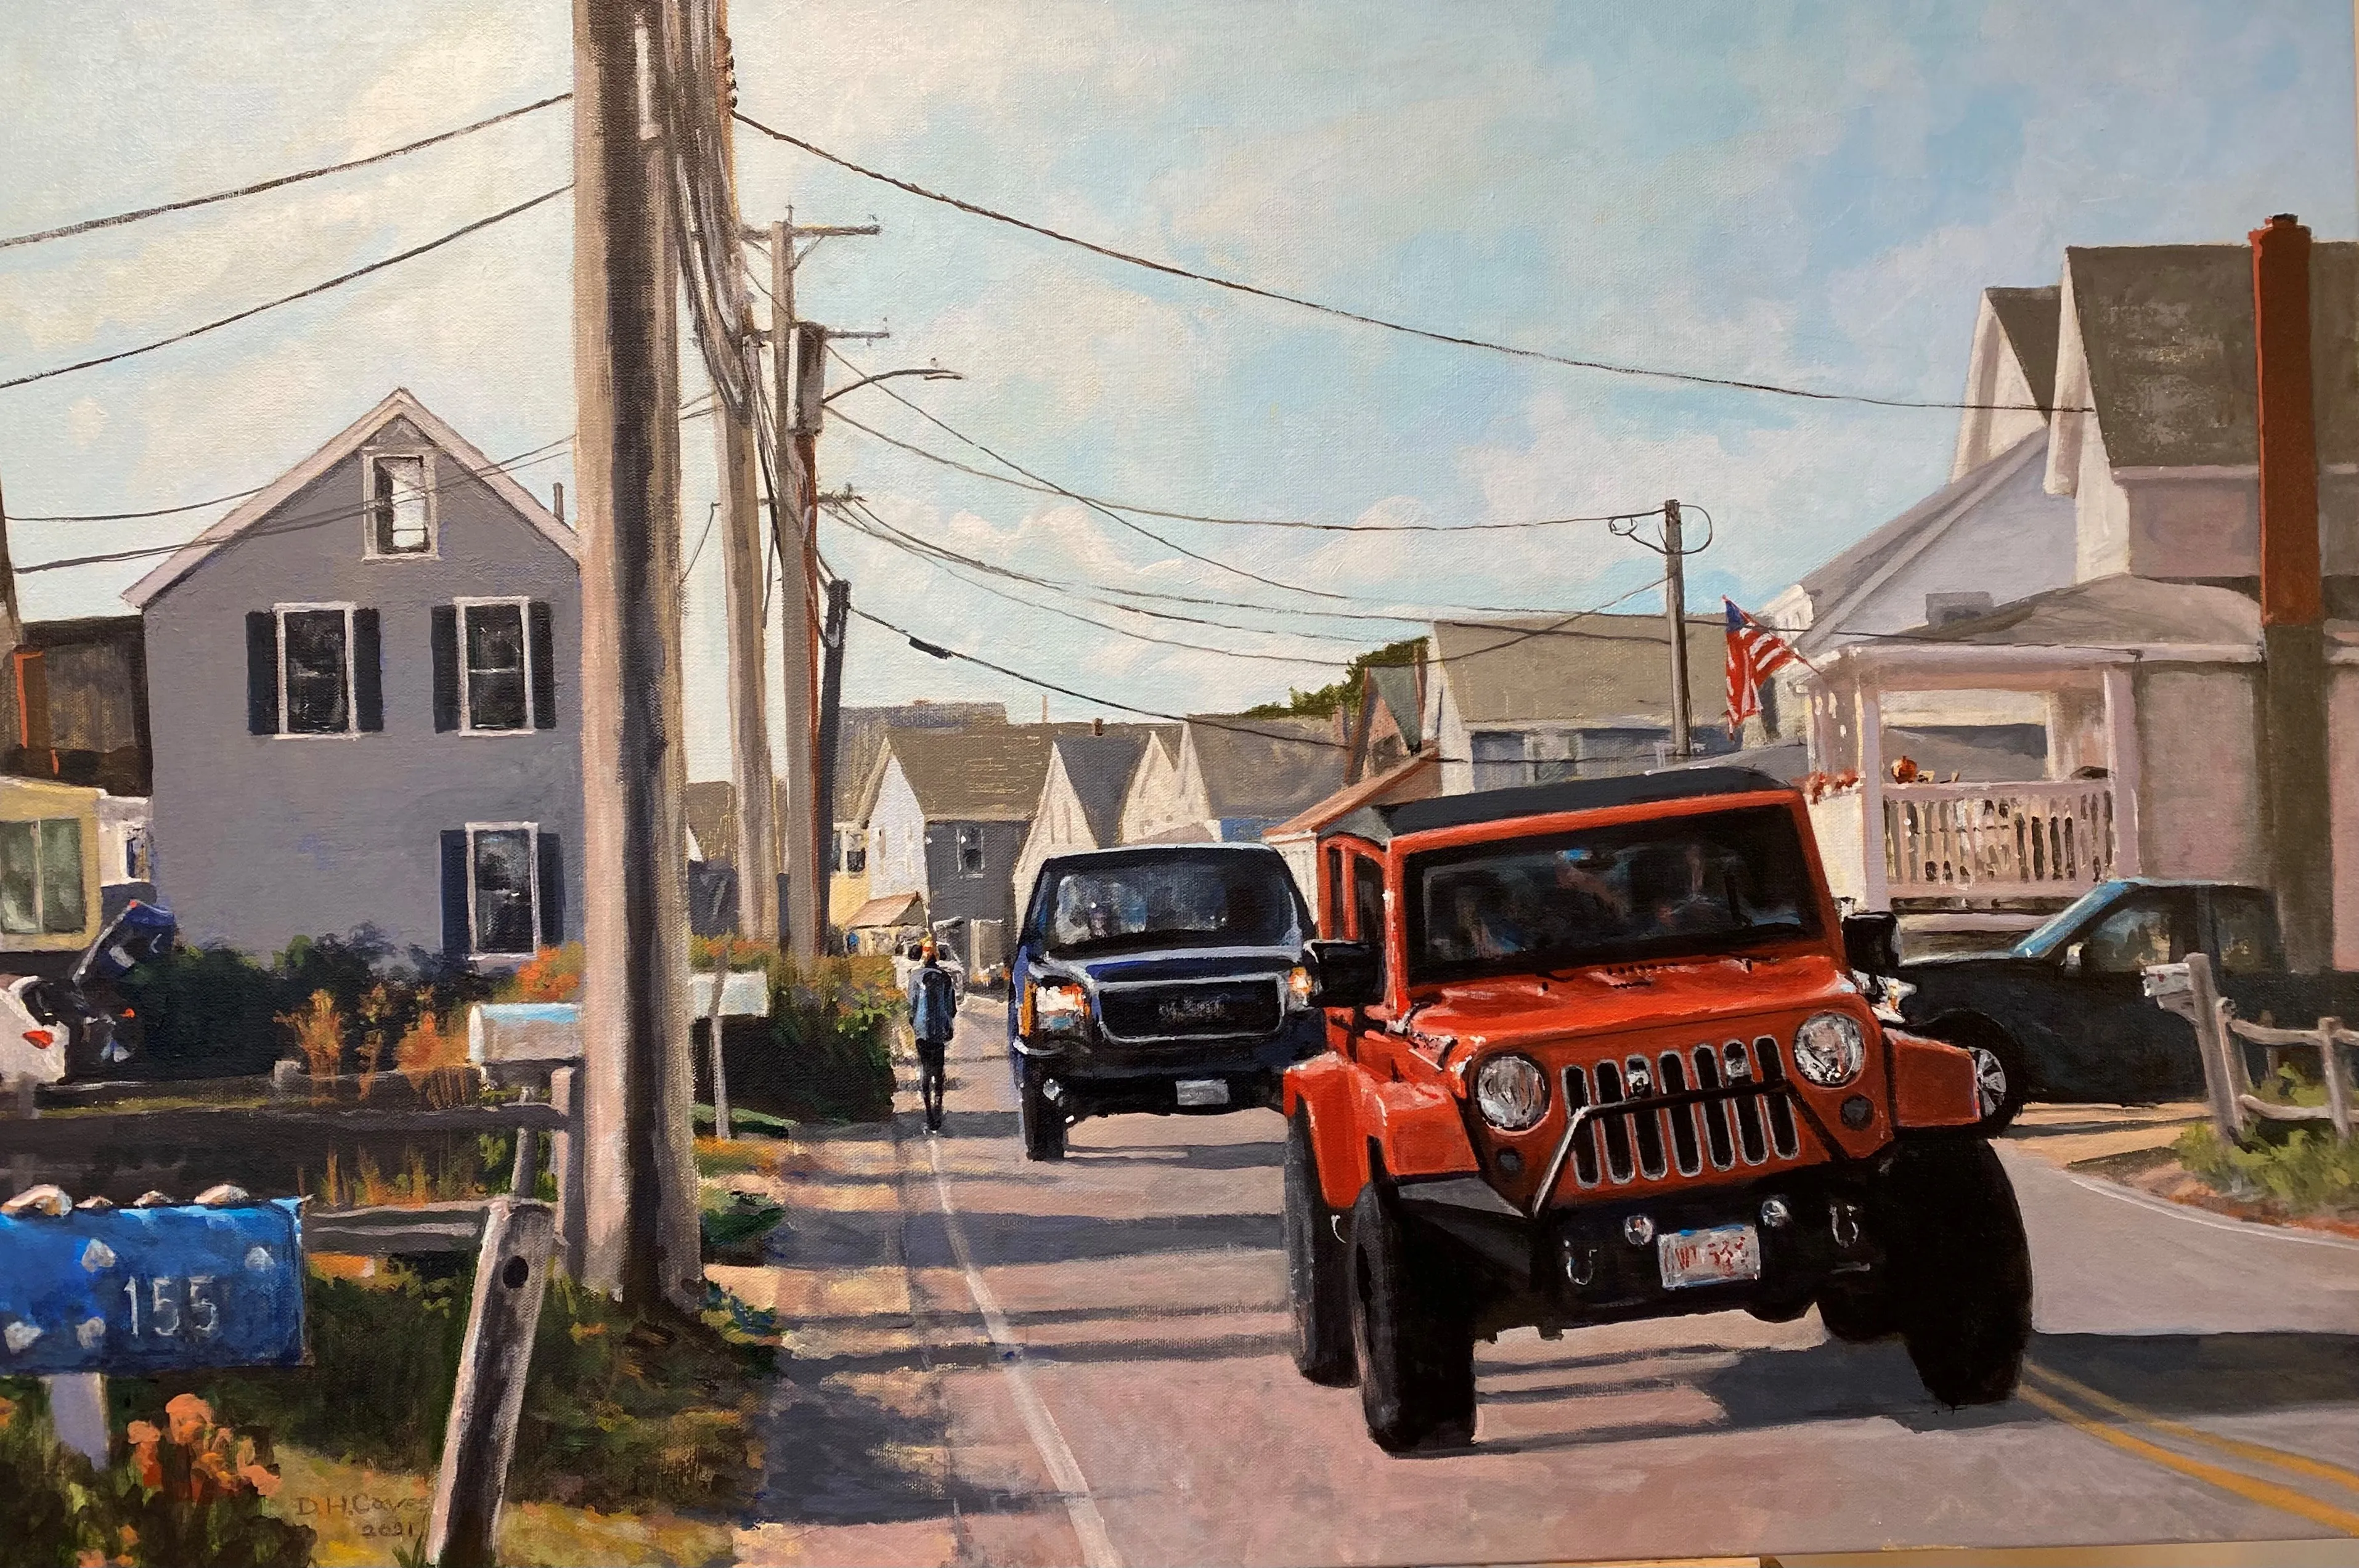
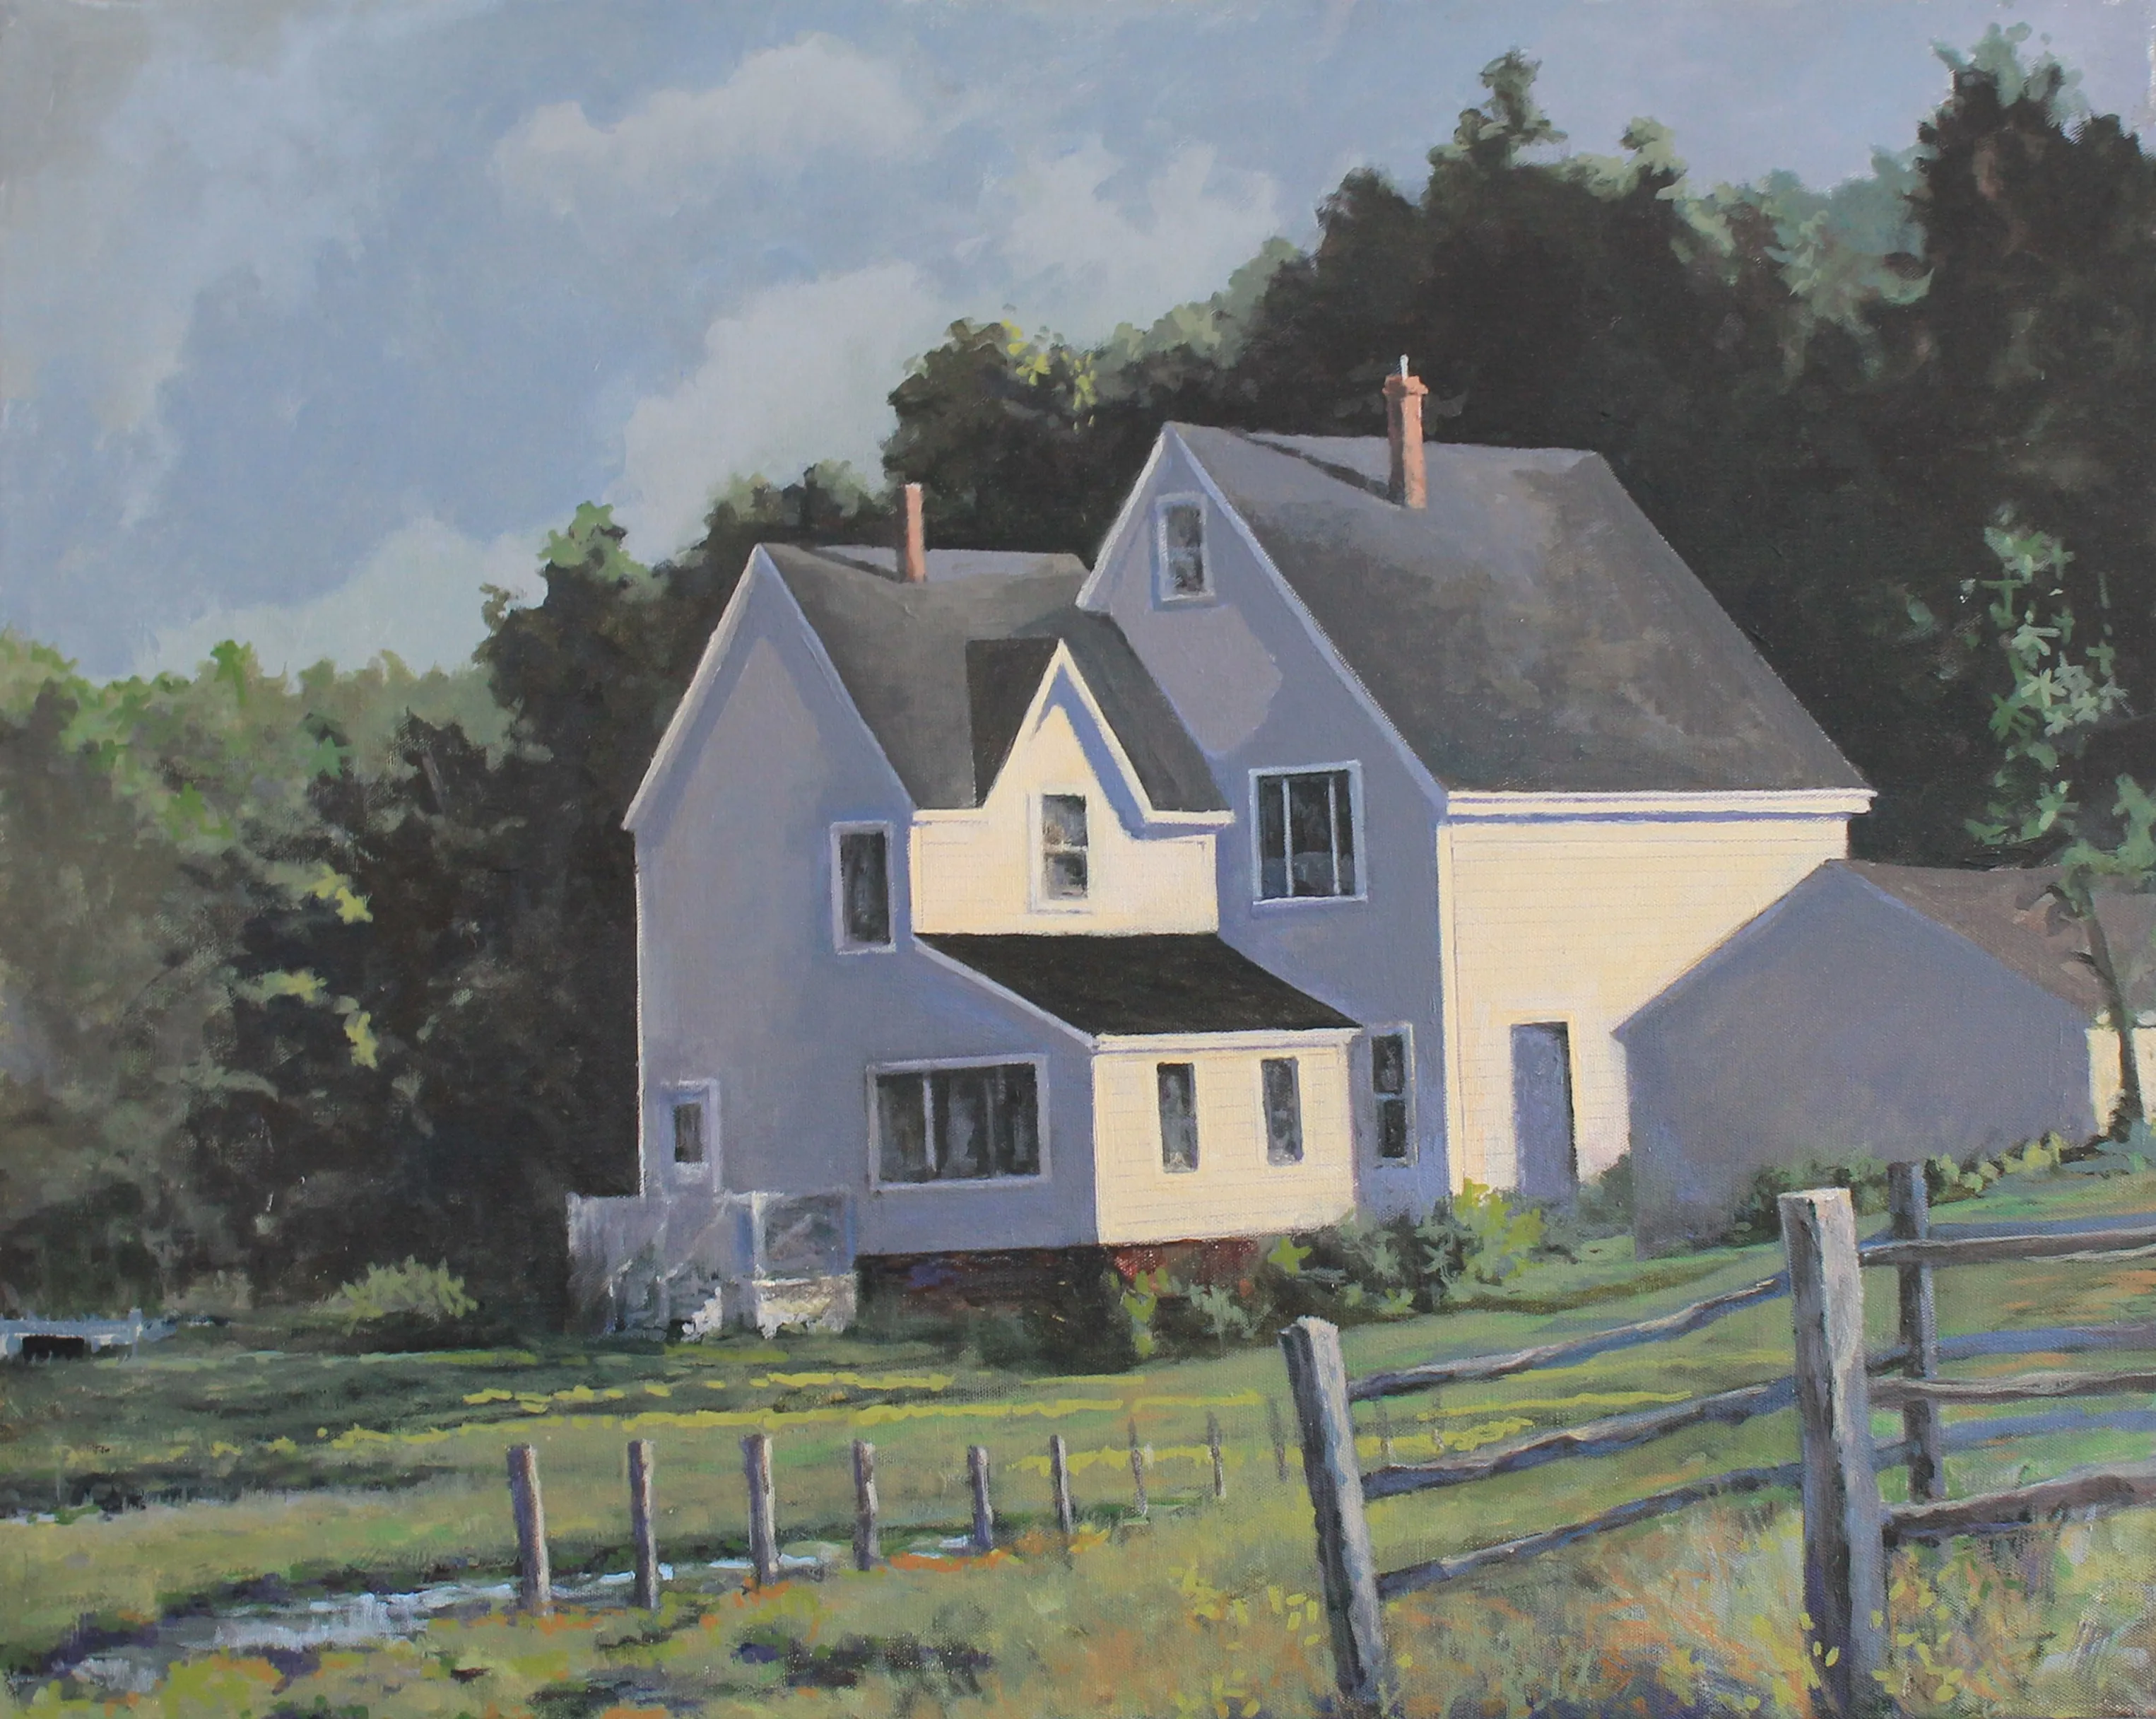
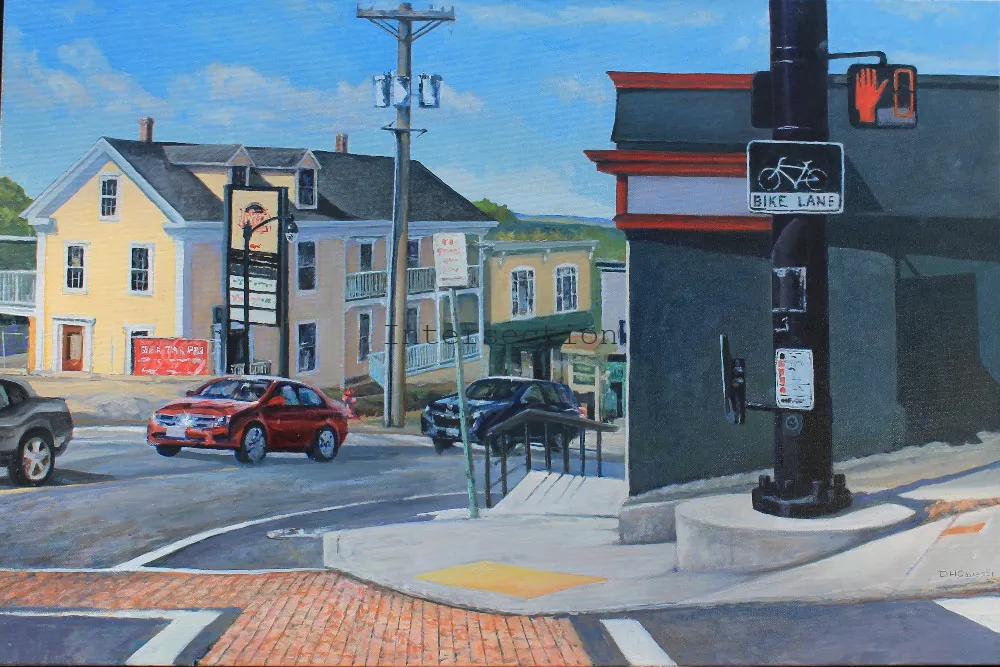
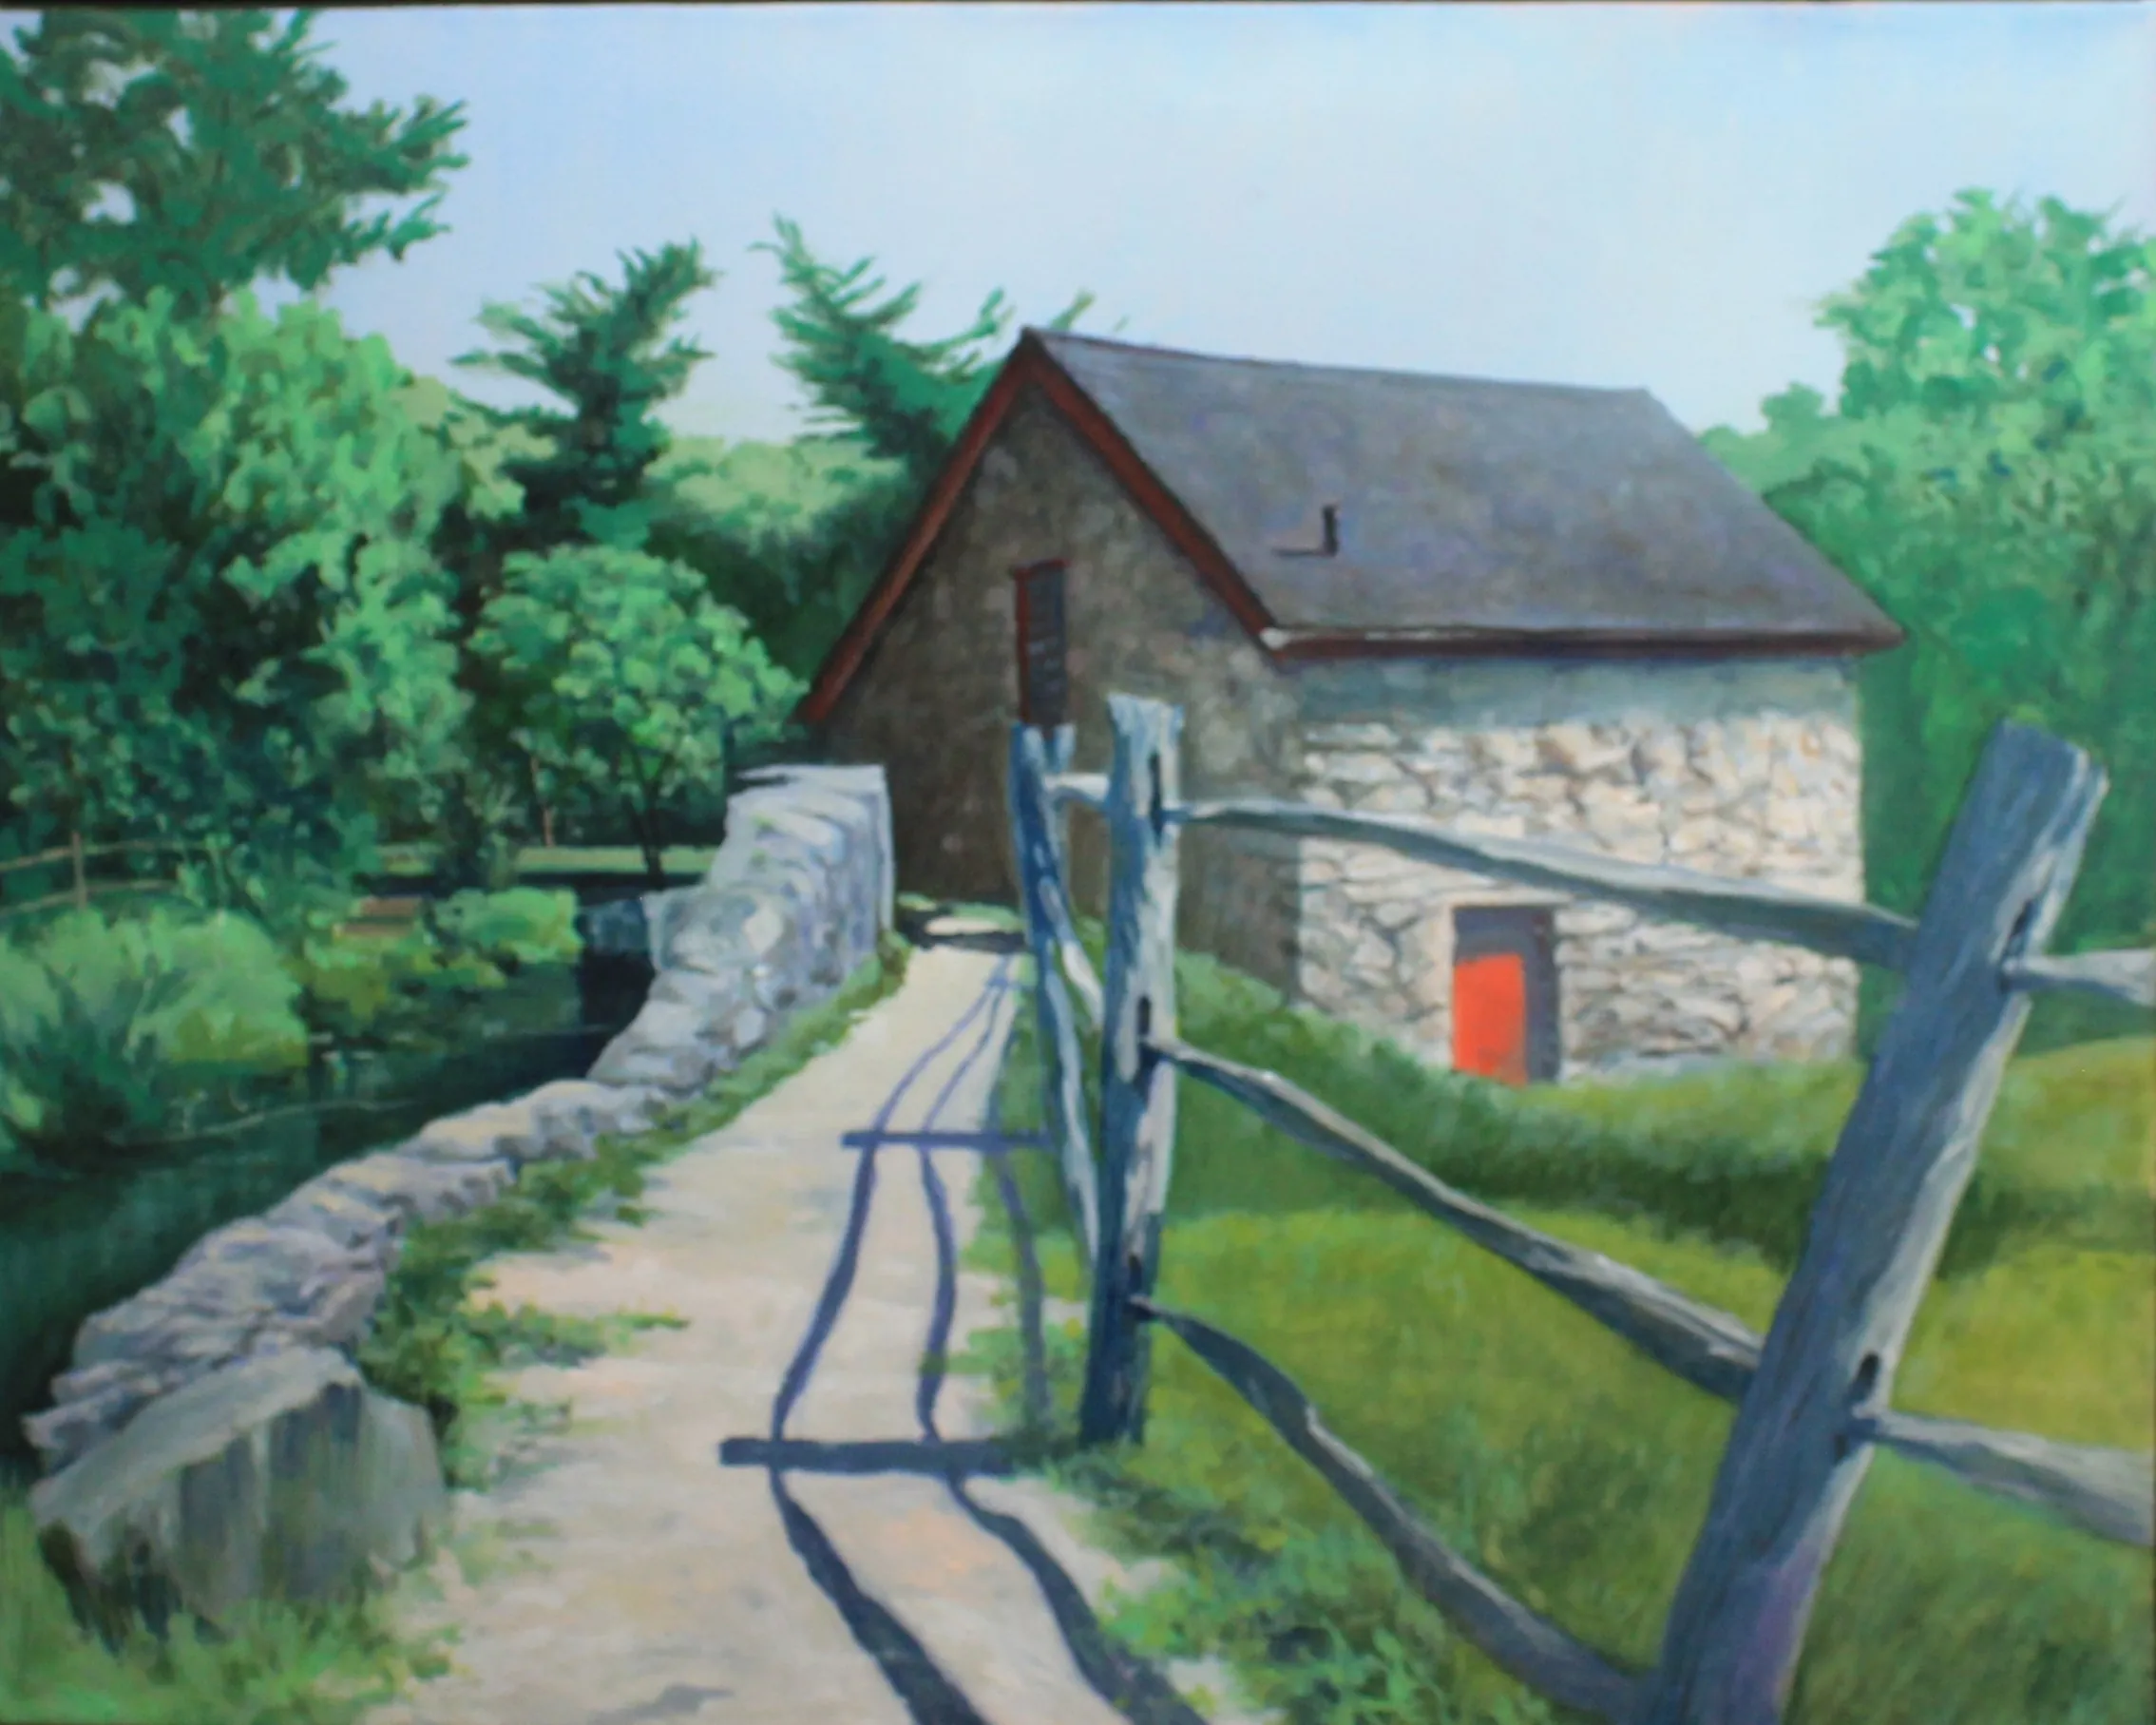
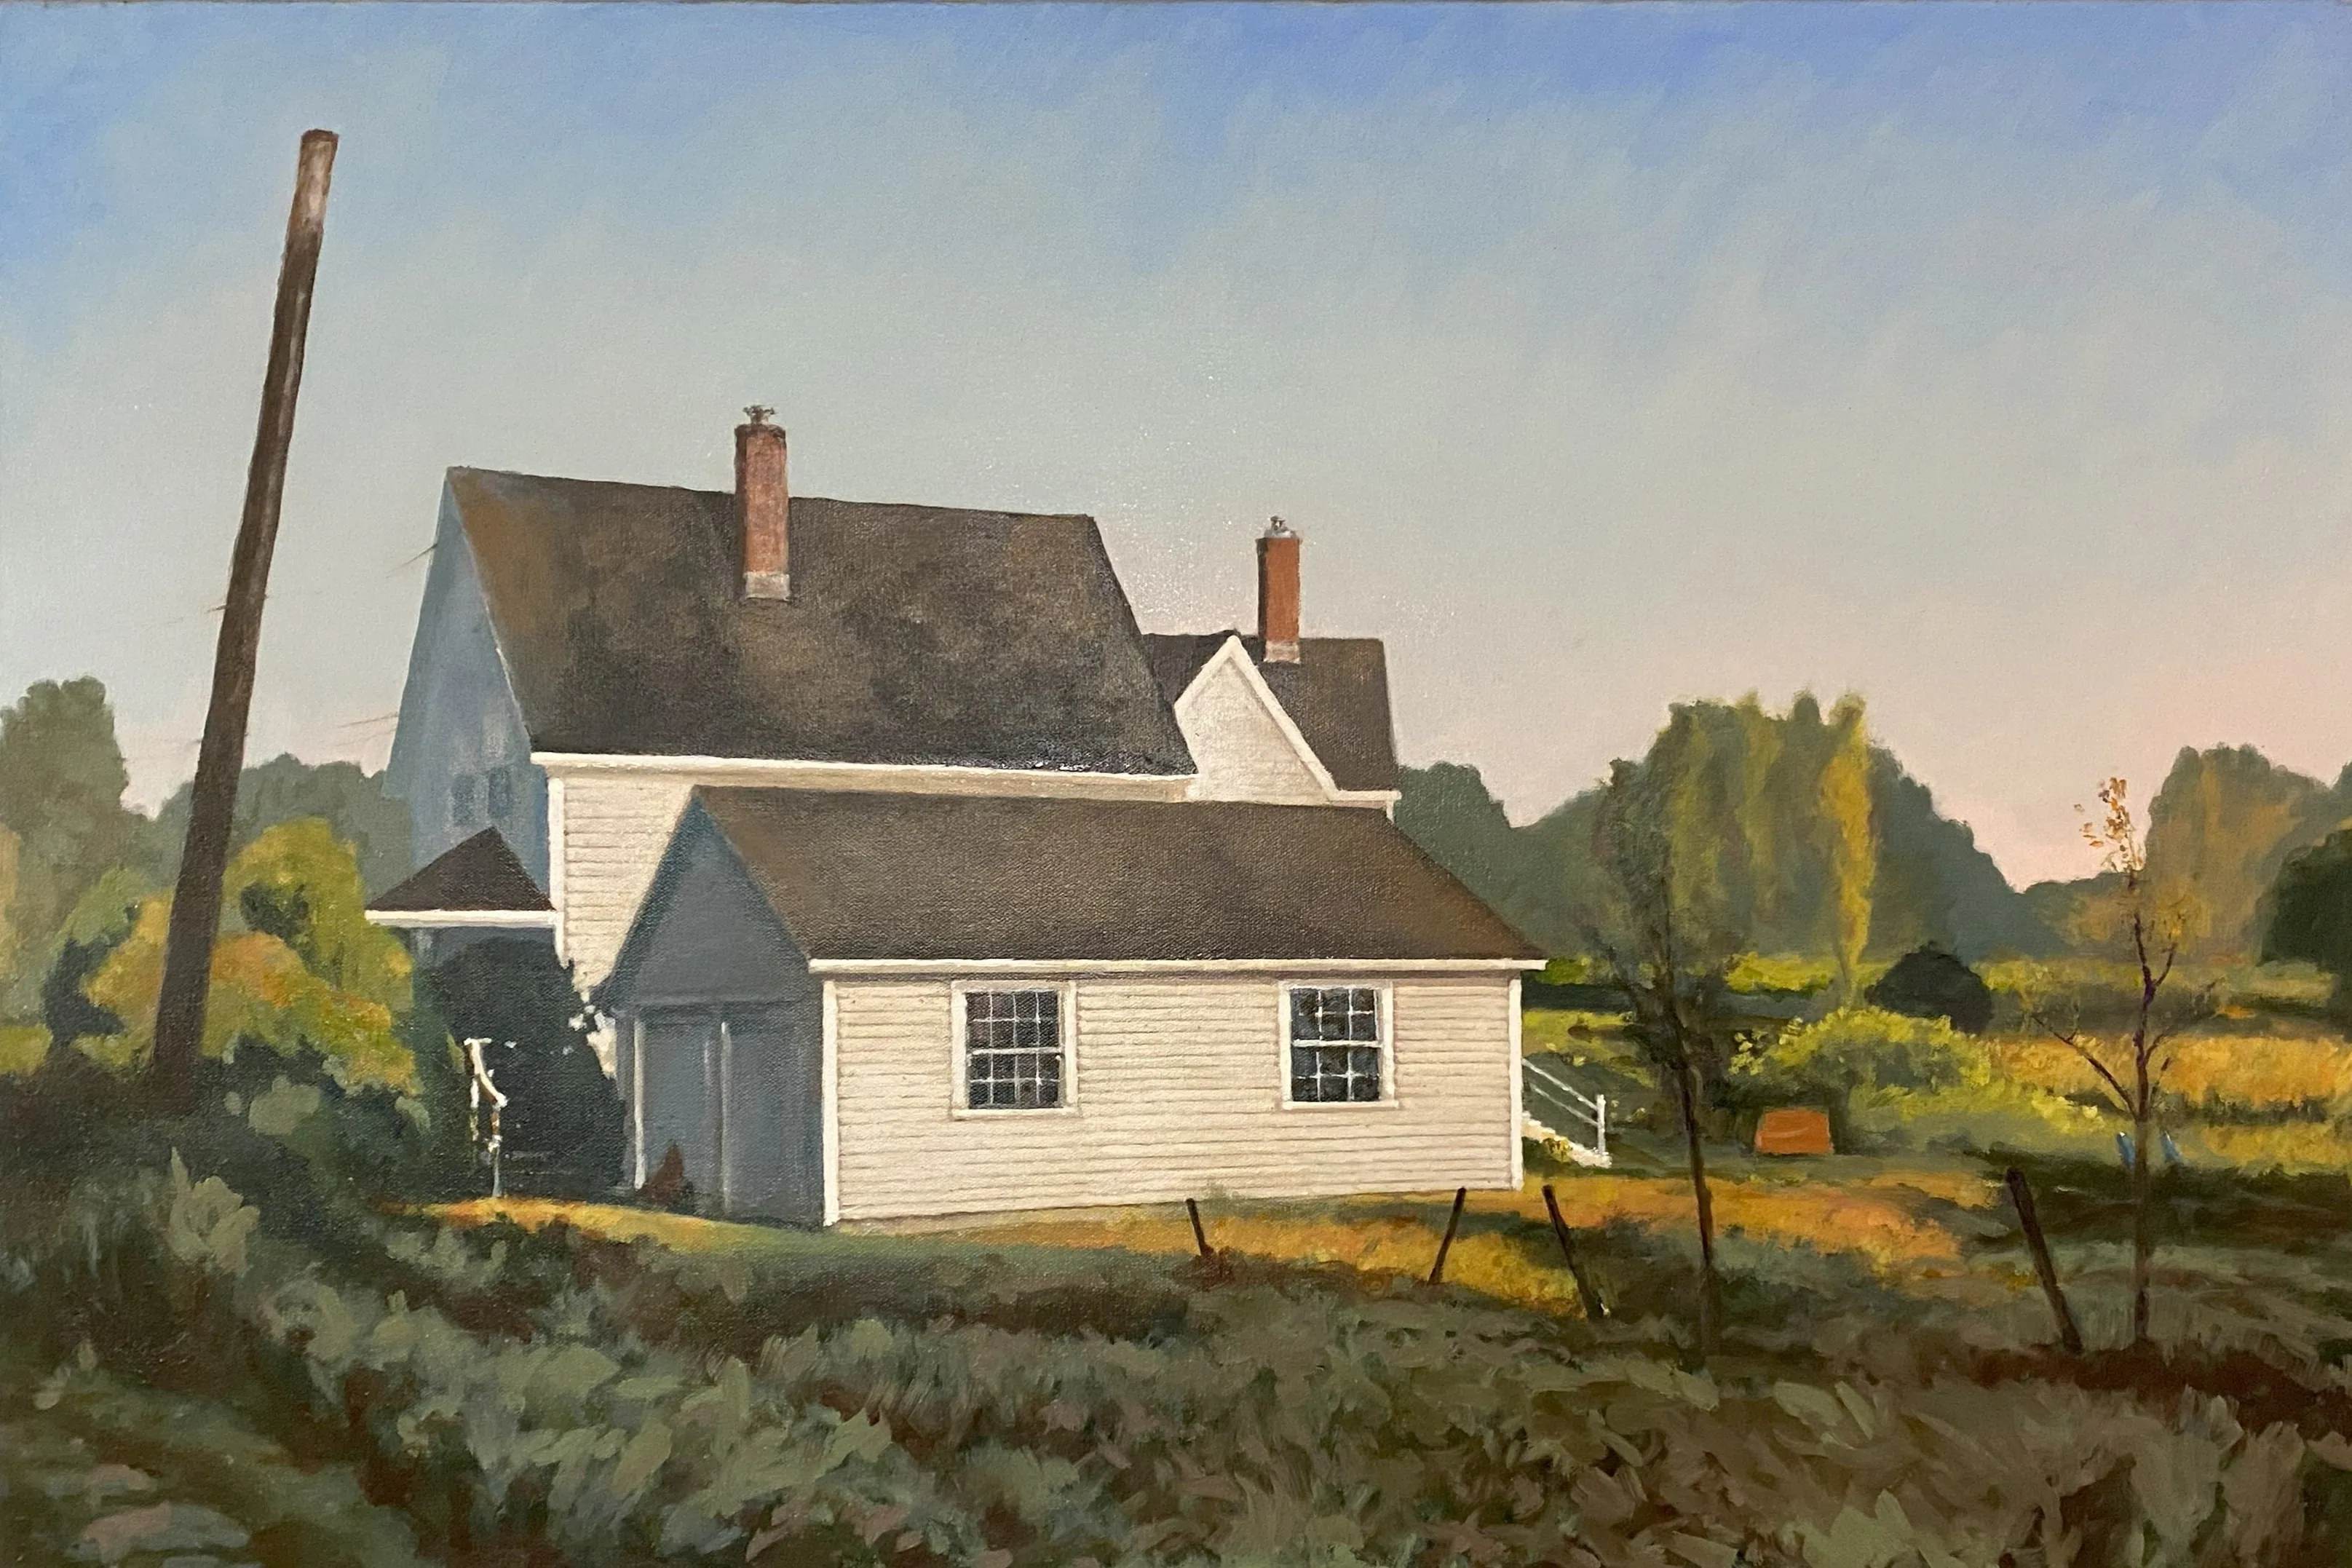
Doug Caves’s work is shaped by changing weather, built places, water, and the particular light of New England. A good lighting plan should preserve that sense of atmosphere. It should let a gray sky remain quiet, let a low sun feel warm without turning orange, and let the surface hold attention without becoming a shiny interruption.
Browse the available paintings for original work and signed editions. For a particular room, the studio can help with dimensions, framing, more photographs, and the practical questions that make a decision easier. Contact the studio with a photo of the wall, the room’s approximate light, and the painting you are considering. For a personal place that deserves its own painting, the commission process begins with the feeling and scale you want the finished work to carry.
Frequently asked questions
What is the best light for a painting?
A dimmable LED with good color rendering is a strong starting point because it gives you control over brightness and produces far less heat than older lamp types. The best placement depends on the painting’s surface, frame, room, and the amount of daylight already present.
Can sunlight damage an oil or acrylic painting?
Yes. Direct sun can fade sensitive materials and raise the temperature at the painting’s surface. Keep original paintings out of sustained direct sunlight, especially near an unshaded window, and use shades or ultraviolet-filtering window treatments when a bright room is the only practical location.
How do I stop glare on a painting?
Move the light source before increasing its brightness. A fixture aimed too directly at the painting can create a bright reflection, especially on a glossy varnish. Try a slightly higher angle, a softer beam, or a different viewing position, then adjust the dimmer only after the reflection is controlled.
Should a picture light be wider than the frame?
Not necessarily. A picture light should spread illumination evenly across the image without throwing a harsh hotspot in the center or spilling dramatically beyond the frame. The right width and beam spread depend on the painting’s size and the distance between the fixture and the artwork.